Instance Editor
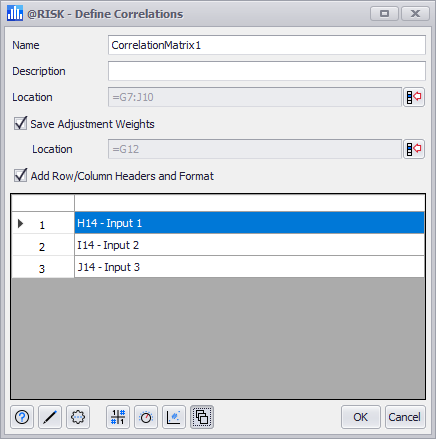
Figure 1 - Instance Editor
Multiple sets of input distributions can use the same correlation matrix to control the relationship between their sampled values; each set of inputs that utilizes a matrix is called an instance. The Instance Editor view (Figure 1, right) of the Define Correlations windows displays a table of all inputs and instances related to the correlation matrix being edited.
When working with inputs and instances in the Instance Editor:
- Inputs are listed as rows and instances as columns.
- The instance name is displayed as the column header.
- The row of a selected input (or a selected row) will be indicated by a carat.
- To select an input, click its cell in the table. The selected input will be highlighted.
- To select an entire row, click the row number. The row will be highlighted.
- To select an entire instance, click the column header.
- To select all inputs in all instances, click the box in the upper left corner of the table.
Working with Instances
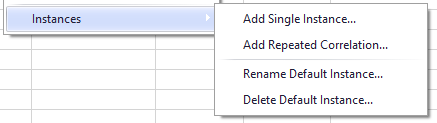
Figure 2 - Instances Submenu
Unless a correlation was created using the Define Repeated Correlation option, a correlation or copula will initially include only a single instance. The Instance submenu (Figure 2, right) of the Edit Correlation/Edit Copula command button includes the following options for working with instances:
Editing Matrices in the Instance Editor
Working with inputs and rows through the Edit Correlation button functions very similar to the other views of the Define Correlations window. The Append, Remove, and Replace commands are nearly identical within the following guidelines:
- Append will add inputs and rows to the end of the matrix, adding to every instance that utilizes the correlation matrix.
- If a single input is selected, the Remove submenu will include options to remove just the selected input or the entire row; removing a row will remove inputs from all instances.
- If an entire row is selected, the Remove submenu will include options to remove all inputs from the selected row, or remove the row entirely.
- If an entire column (the entire instance) is selected, the Remove submenu will include options to remove all inputs from the selected instance. The options to remove rows will not work when an instance is selected.
- The Replace option will either replace a selected input, or all selected inputs if an entire row or column is selected.